
Not all Nibs are Created Equal
You may have found yourself longingly admiring the beautiful hand lettering or calligraphy that you’ve surely been seeing all over social media, and wondering to yourself, “How can people do that?” A Day in May’s Emily has been dabbling in the art of calligraphy for a couple of years now and has some tips, tricks and helpful hints to getting started.
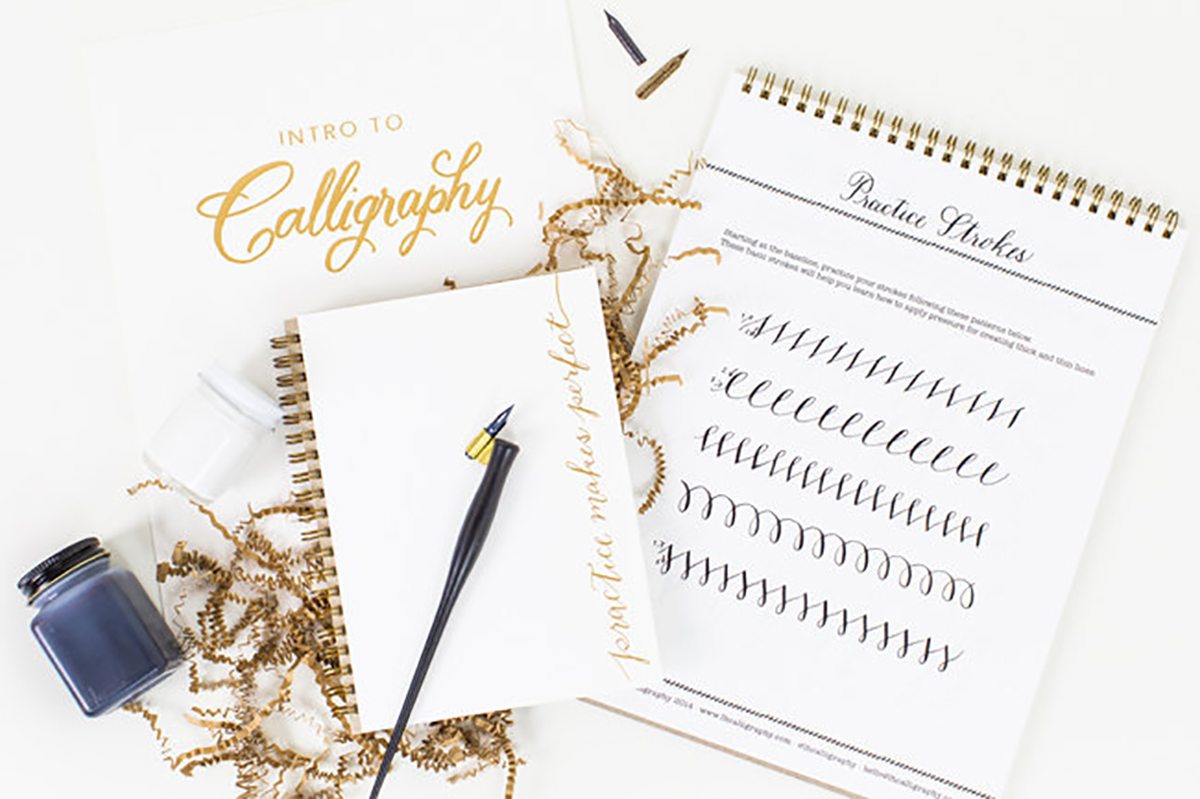
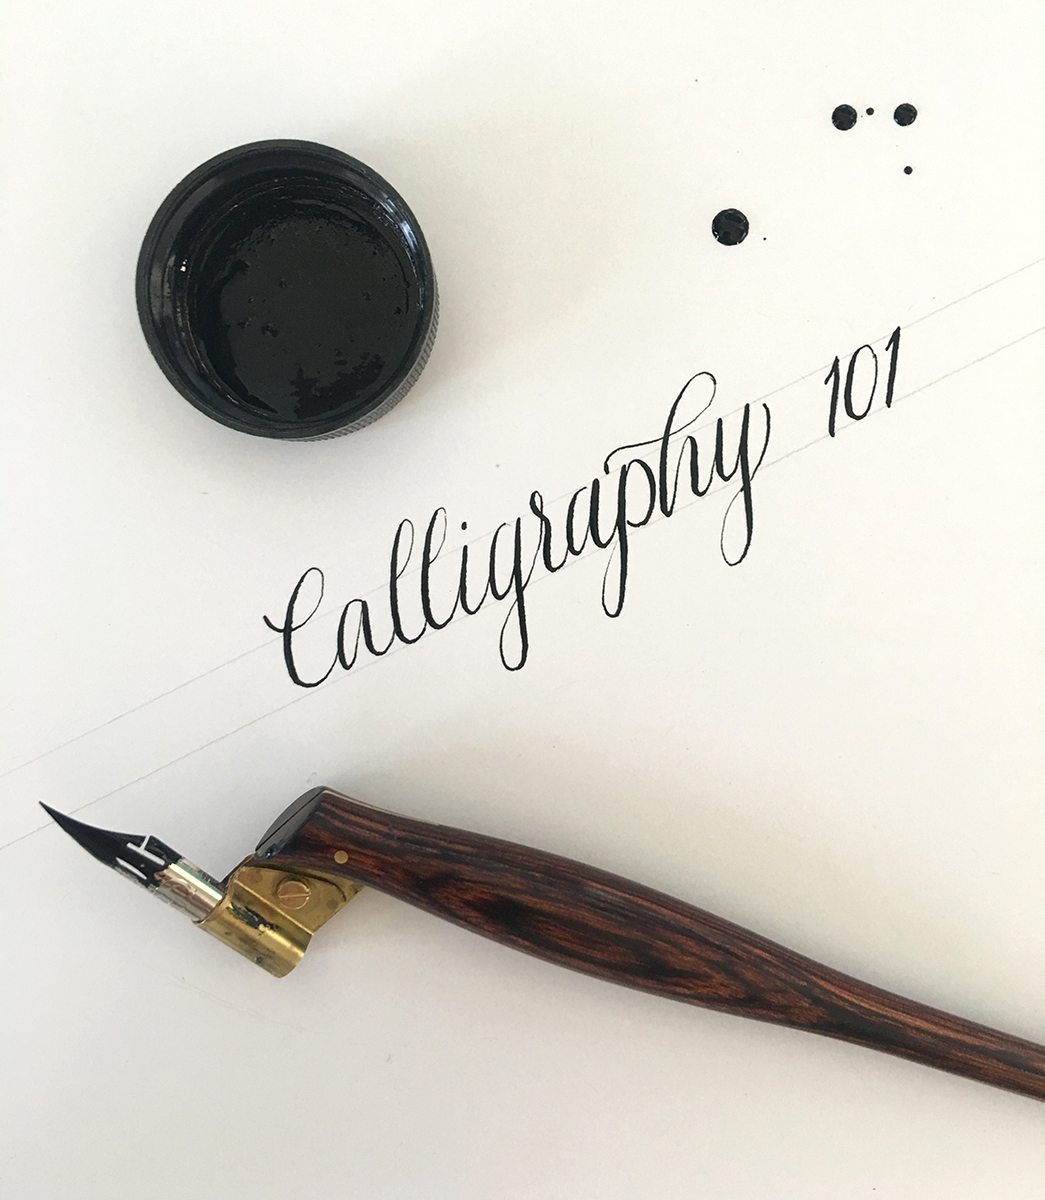
Image via Laura Hooper Calligraphy
Take the leap!
First and foremost, the best way to get started in calligraphy is to have the right set of tools in your kit. Emily started with Laura Hooper’s Calligraphy Starter Kit from her online shop and she’s never turned back! Packed with a selection of nibs, ink, an oblique pen holder (wait, what?… Don’t worry, we’ll get to that) a customized pad of sketch paper and some helpful literature, Laura’s kit is a great way to hit the ground running…er…writing.
You don’t need to have good handwriting to be a good calligrapher.
We hear this a lot “Oh I can’t do calligraphy, I have terrible hand writing!” It’s a common misconception that calligraphers have beautiful handwriting in all avenues, and this just isn’t the case. Any calligrapher hopefuls out there need-not worry that they don’t have what it takes, based on their daily handwriting. Give it a try and you may just surprise yourself.
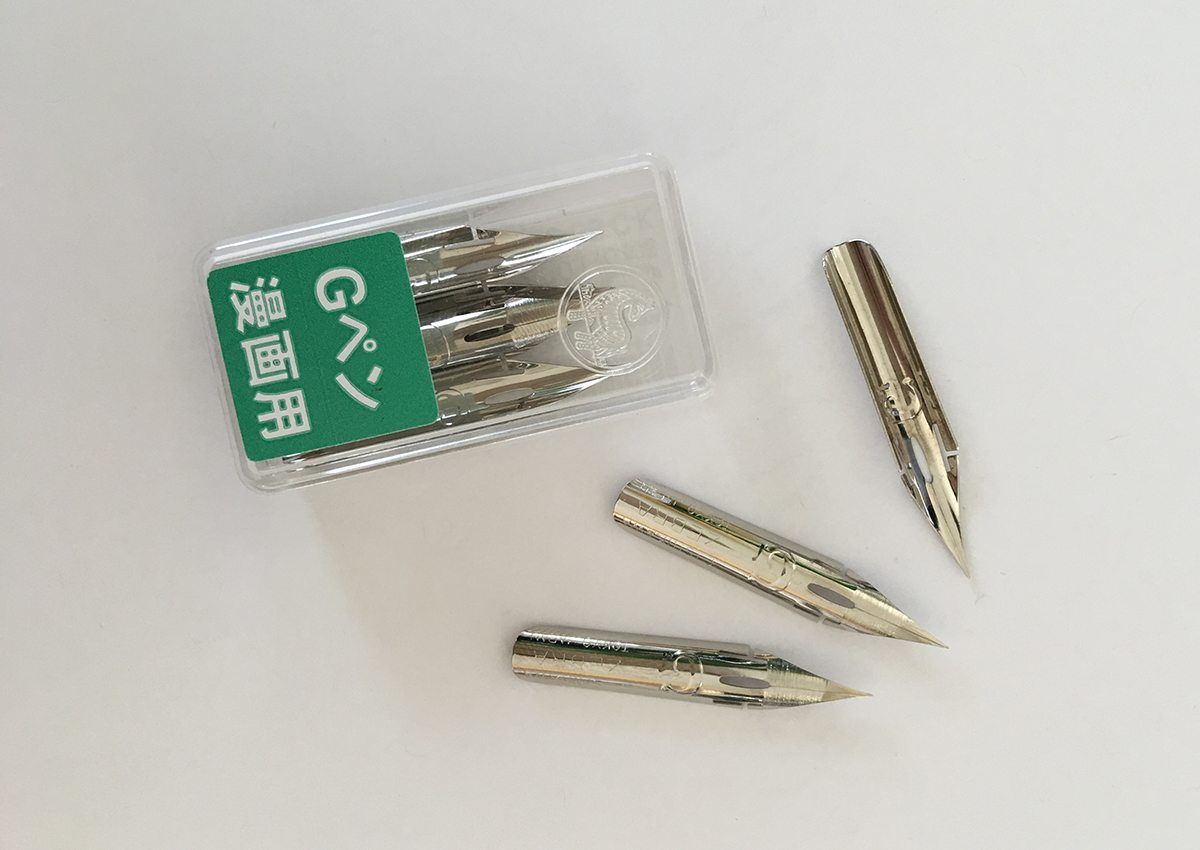
Not all nibs (and pens) are created equal.
Nibs are beautiful little metal pieces, created to hold and spread ink with the pressure of your hand. There are just short of hundreds to try, but you’ll find that there are some you’ll gravitate towards with trial and error. Emily’s favorite nib is the Nikko G Zebra. Although it is considered to be one of the more rigid nibs, meaning it takes more pressure to spread ink, it’s incredibly smooth and very user friendly – great for starting out!
Now, we know that a nib isn’t all that you need to get started on your calligraphy endeavors. You may have noticed this wonky little pen that has a little angle at the end to it. This is referred to as an oblique pen holder and it’s a dream come true. It may seem odd to think about holding a pen that doesn’t directly make straight contact with your paper, but trust us – let the oblique pen do the work for you. The position of the pen allows angles of writing to be captured that might otherwise be difficult to achieve. Get yourself an oblique pen holder and never look back!
Knowing your center takes time.
If you’re looking to calligraph envelopes, you’re going to want those beauties centered. Knowing how long a word is going to be, keeping it straight and trying to center it on a piece of paper is hard enough. Knowing how long six words together look on a piece of paper, stacked five lines tall and then attempting to center that is even harder. Unfortunately there’s no quick trick to speedy envelope calligraphy. There are wonderful objects like light tables that would allow you to use tracing paper to perfect your flourishes, however when you’re working on 200 envelopes for guests, you may not really have the time to pre-write all of their addresses. Take your time, practice as much as your schedule allows and believe in the process of repetition.
Don’t let the pressure get to you!
One of the first experiences you will have when trying your hand at calligraphy is the understanding that pressure is going to mean a whole lot more than it does when you’re writing with your favorite ball point pen. The nature of a nib allows ink to flow more rapidly when more pressure is applied, spreading the two pieces if your nib apart from one another. However a lighter pressure is needed upon the upstroke of writing a letter to create a very thin line. This upstroke is indeed a training exercise. You may find yourself shaking your fists after your nib catching on your paper and splatters gouache (a mixture of paint and distilled water) all over your beautiful envelope. Have no fear – you will become accustom to the feel and angles and above all, use pressure that works for you and your nib.
Practice makes perfect (and permanent).
Back in grade school when we were taught how to write in cursive, we’re taught to practice our letters over and over again. We were taught the height ratio between uppercase and lowercase letters, how far apart words should be from one another and the fun little tails that some characters had. Practice makes perfect, our teachers would say. Well, the times they are not a-changing. Practice does make perfect and it definitely makes permanent. Make sure that you are creating good, consistent lettering styles while you practice will help your hand to remember what that beautiful letter ‘H’ looks like.
So get out there, calligrapher hopefuls! Don’t be afraid to make a mess and get started on a beautiful relationship between artist and tool.